Winter hiking in Seattle can be a magical experience, with trails transformed into a frosted wonderland and serene alpine landscapes blanketed in snow. But for all its beauty, winter hiking comes with unique challenges that can make the experience less enjoyable—or even dangerous—without proper preparation. Freezing temperatures, icy trails, and shorter daylight hours all demand special attention.
By equipping yourself with the right gear, dressing in weather-appropriate clothing, and following a few safety tips, you can turn a potentially stressful outing into an enjoyable and safe adventure. Here’s how to make your winter hikes in Seattle as seamless and worry-free as possible
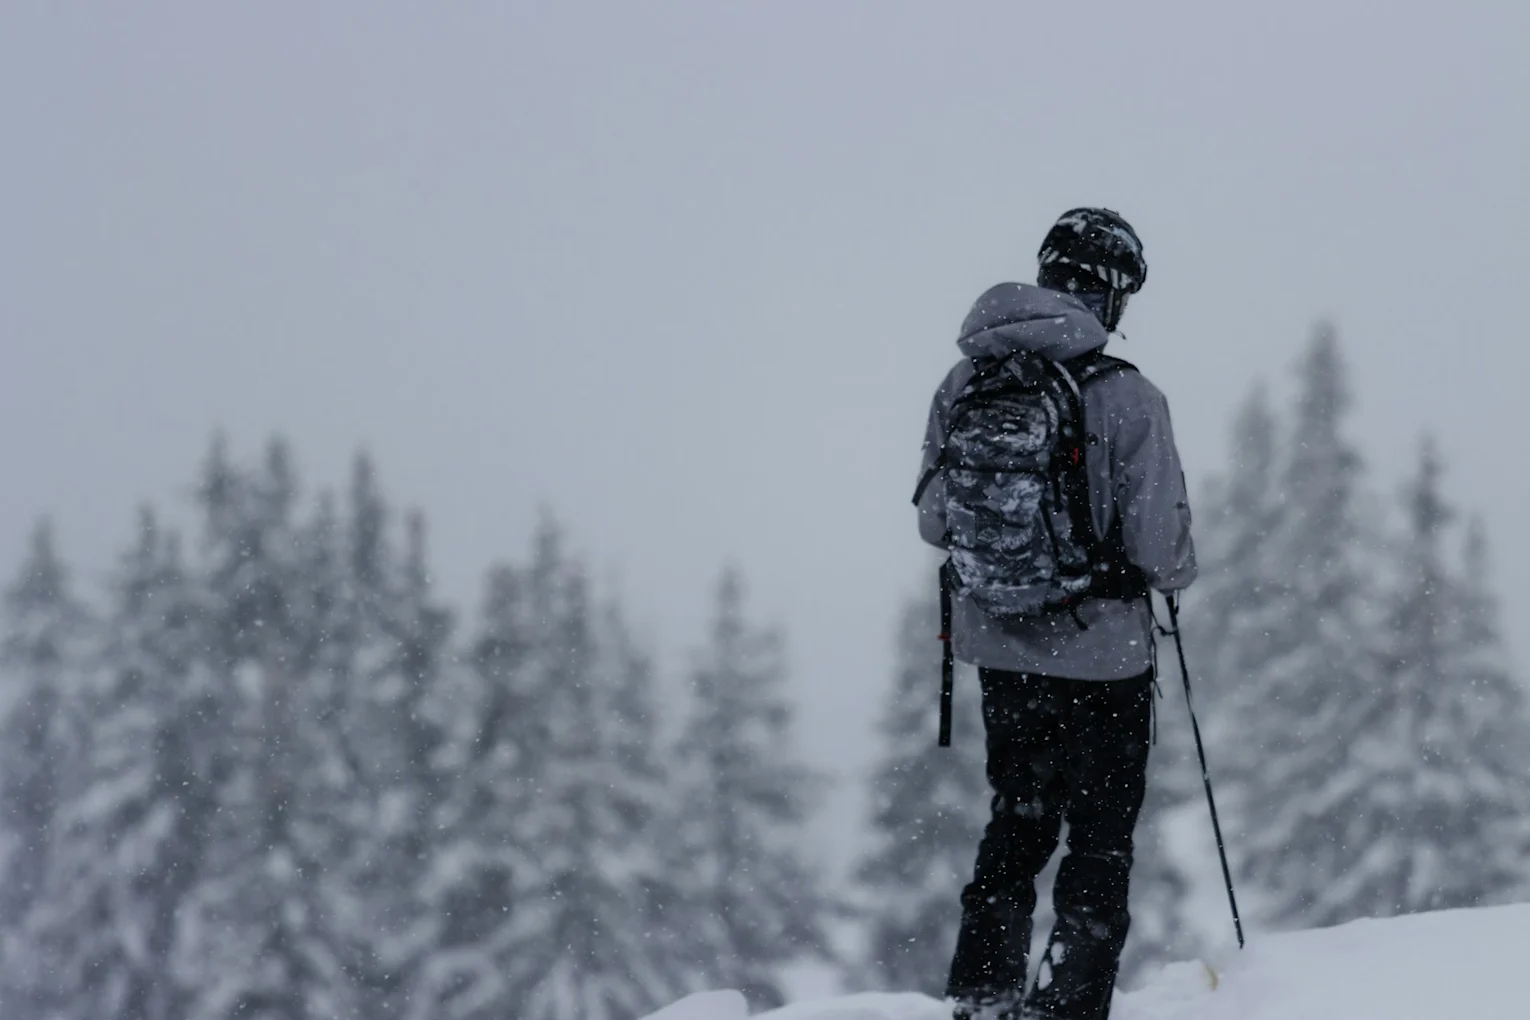
Essential Winter Hiking Gear
Preparation is key for a safe and comfortable winter hike. Here’s the gear you’ll need:
Footwear & Traction
Waterproof Hiking Boots: Insulated, waterproof boots keep your feet warm and dry, even in deep snow or slushy conditions.
Traction Devices:
Microspikes: Lightweight and ideal for icy, compact trails with minimal snow.
Crampons: Provide superior grip for steeper, icy routes and technical climbs.
Snowshoes: Distribute weight across deep snow, preventing post-holing and fatigue.
Gaiters: Protect your lower legs and keep snow, water, and debris from entering your boots.
Spare Socks: Bring an extra pair of warm, moisture-wicking socks to change into if your feet get wet.
Pro Tip: Test your traction gear and practice using it before heading out to ensure a proper fit and ease of use.
Clothing & Layering System
Base Layer: Opt for merino wool or synthetic fabrics to wick sweat away and keep your skin dry.
Mid-Layer: Insulating layers like fleece or down provide critical warmth without adding too much bulk.
Outer Layer: A durable waterproof and windproof hardshell jacket and pants protect you from wind, snow, and rain.
Accessories:
Insulated, waterproof gloves or mittens to protect your hands.
A hat or balaclava to retain body heat and shield against frostbite.
Neck gaiter or buff for added warmth and protection from icy winds.
Sunglasses or goggles to reduce snow glare and shield your eyes from UV exposure.
Pro Tip: Avoid wearing cotton—it retains moisture and loses its insulating properties, increasing the risk of hypothermia.
Backpack & Storage
Waterproof Backpack or Rain Cover: Keeps essential gear dry even in wet snow or light rain.
Compression Sacks: Use for space-saving and keeping layers or sleeping bags dry.
Emergency Items: Always pack an extra insulated jacket, emergency blanket, and lightweight shelter such as a bivy sack or tarp. These can be lifesavers in unexpected conditions.
Repair Kit: Include duct tape, zip ties, and spare straps for quick fixes on the trail.
Hydration & Food Supplies
Insulated Water Bottle or Hydration Bladder: Prevent freezing by using insulated sleeves or keeping bottles upside down.
Hot Drinks: A thermos of tea, coffee, or hot broth provides both warmth and hydration.
Calorie-Dense Snacks: Carry lightweight but energy-packed options like trail mix, jerky, and nut butter packets to sustain energy levels.
Warm Food Options: Consider packing instant soups or oatmeal for a hot meal using a portable stove.
Pro Tip: Sip water regularly—dehydration is a risk even in cold weather.
Navigation & Safety Gear
GPS Device, Compass, and Map: Ensure you know how to use these tools; phone apps are unreliable in freezing conditions due to battery drain.
Headlamp or Flashlight: Bring high-lumen devices with extra batteries; winter days are short, and trails can be unexpectedly dark.
Personal Locator Beacon (PLB): A crucial device for signaling emergencies in remote areas.
Whistle: Small and simple, but invaluable for signaling your location.
First Aid Kit: Include adhesive bandages, blister treatment, anti-inflammatory medication, and cold-weather-specific items like chemical hand warmers.
Pro Tip: Store electronics in inner pockets close to your body to preserve battery life in cold conditions.
Clothing Essentials for Winter Hiking
Layering effectively protects you from the cold while managing sweat and moisture.
Layering System Overview
Base Layer: Moisture-wicking materials (e.g., merino wool or polyester).
Mid-Layer: Insulating layers like fleece, synthetic jackets, or lightweight down.
Outer Layer: Windproof and waterproof shells to guard against the elements.
Winter Hiking Clothing Checklist
Head & Face: Insulated beanie, balaclava, sunglasses or goggles.
Upper Body: Base layer, mid-layer, and a hardshell jacket.
Lower Body: Base layer, insulated pants, and waterproof shell pants.
Hands: Waterproof gloves with liners for extra warmth.
Feet: Wool socks (carry an extra pair) and insulated, waterproof boots.
Accessories: Bring lightweight crampons, gaiters, and snowshoes if conditions require.
Pro Tip: Monitor your body’s warmth and adjust layers to avoid sweating or chilling.
Safety Tips for Winter Hiking in Seattle
Check the Weather & Trail Conditions
Trail Reports: Websites like WTA.org provide real-time trail conditions and hiker insights.
Avalanche Risk: Monitor conditions using the Northwest Avalanche Center (NWAC) and avoid avalanche-prone areas without proper training and gear.
Pro Tip: If conditions look risky, postpone your hike. Safety always comes first.
Plan for Shorter Days
Start Early: Begin hikes at first light to maximize daylight.
Pack Redundant Lighting: Headlamps and flashlights with backup batteries are essential.
Prevent Hypothermia
Layer Smartly: Stay dry by avoiding excessive sweating and promptly changing wet layers.
Keep Moving: Avoid extended rest periods to maintain body heat.
Pro Tip: Learn to recognize hypothermia symptoms like persistent shivering, confusion, or slurred speech, and act immediately.
Bring a Buddy (Or Tell Someone Your Plan)
Hike in Groups: Partnering reduces risks and provides support in emergencies.
Leave Your Plan: Share your route, expected timeline, and emergency contact information with a trusted person.
Pro Tip: For solo hikes, carry a PLB and check in regularly if possible.
What to Do if You Get Lost
Stay Calm: Panic depletes energy and clouds judgment.
Use Navigation Tools: Backtrack using landmarks, a map, or GPS.
Signal for Help: Use a whistle, reflective gear, or flashlight to attract attention.
Top Winter Hiking Trails Near Seattle
Beginner-Friendly Winter Hikes
Franklin Falls (Snoqualmie Pass): An easy 2-mile round trip with a spectacular frozen waterfall.
Rattlesnake Ledge (North Bend): A 4-mile round trip with sweeping views. Watch for icy patches.
Coal Creek Trail (Bellevue): A forested, low-elevation trail perfect for new winter hikers.
Intermediate Winter Hikes
Mount Si (North Bend): A challenging 8-mile hike with snowy terrain and rewarding views.
Snow Lake (Snoqualmie Pass): A 7.2-mile trek to a stunning alpine lake. Bring traction devices.
Advanced Winter Hikes
Mailbox Peak (North Bend): Steep, rigorous, and famous for its difficulty, even in summer.
Mount Pilchuck: A challenging 5.4-mile hike with breathtaking summit views. Requires crampons and experience.
Final Tips for a Safe & Enjoyable Winter Hike
Invest in Quality Gear: Prioritize warmth, waterproofing, and proper traction.
Check Conditions Before You Go: Stay updated on weather and avalanche forecasts.
Be Flexible: If conditions change, turn back or choose a safer alternative.
Leave No Trace: Respect nature by packing out all trash and minimizing your impact.