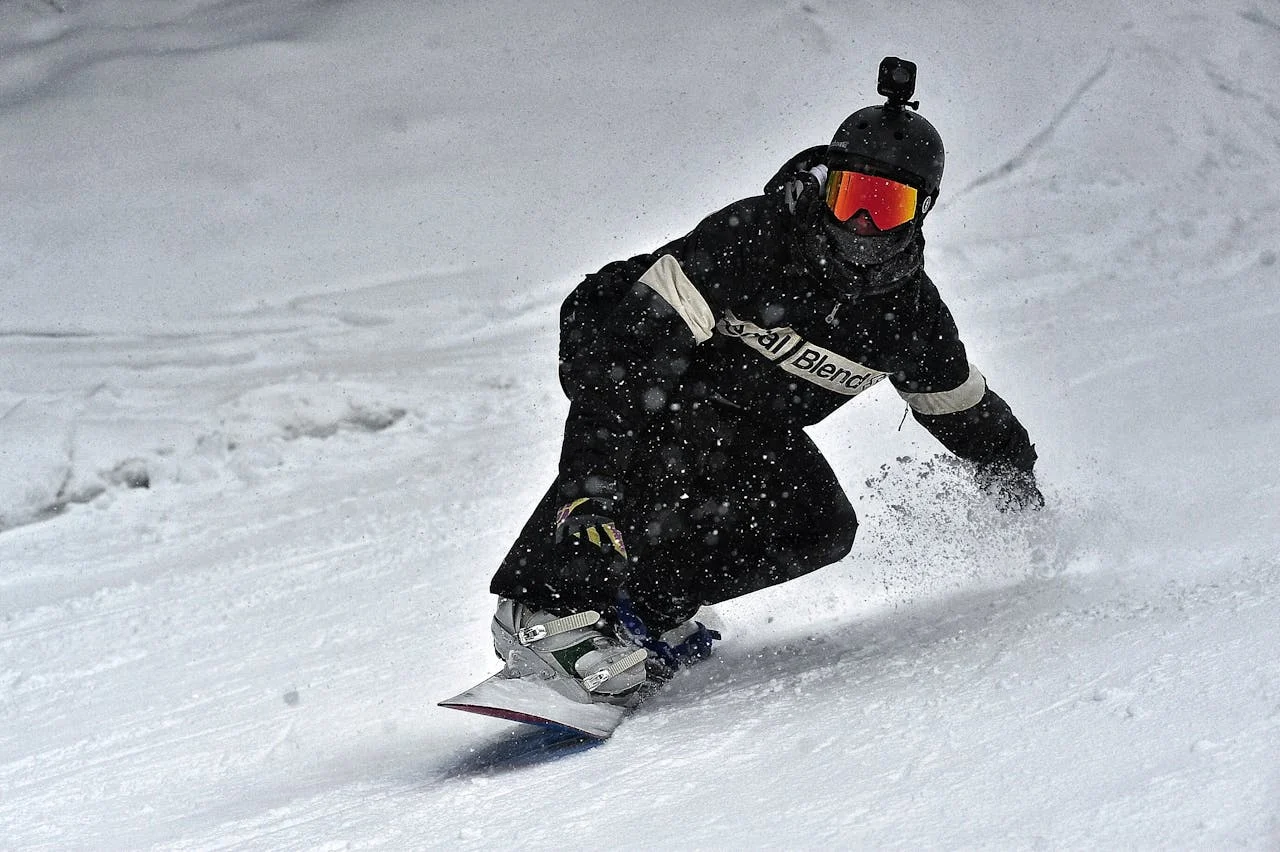
Want to escape the city and carve fresh powder in one day? A snowboarding trip from Seattle to Stevens Pass is the perfect winter adventure. Just 1.5-2 hours from Seattle, Stevens Pass offers world-class snowboarding, but planning a smooth day trip takes strategy. This guide walks you through everything you need to know to plan a successful day trip, from packing your gear to scoring the best lift ticket deals.
1. Planning Your Trip from Seattle to Stevens Pass
How to Get to Stevens Pass from Seattle
Distance & Drive Time: Approximately 1.5 to 2 hours (depending on traffic and weather).
Driving Route: Take I-5 North to US-2 East — a scenic but sometimes snowy drive.
Pro Tips for the Drive:
Check Road Conditions: Use WSDOT for live traffic and weather updates.
Carry Chains: Chains are often required in winter, even for AWD/4WD vehicles.
Leave Early: Avoid traffic and ensure you have enough time to park and get your lift ticket.
Parking Tips: The main lots fill up fast, so arrive before 8:00 AM for the best spots.
Alternative Transportation Options
Ski Buses & Shuttles:
SkiBus by MTRWestern — Direct transport from Seattle to Stevens Pass.
Pro Tip: Book shuttle tickets in advance, especially on weekends and holidays.
Carpooling & Rideshares: Use apps like SkiCarpool or plan with friends to save on parking fees and reduce congestion.
2. What to Pack for a Snowboarding Day Trip
Snowboarding Gear Essentials
Snowboard & Bindings: Make sure your board is waxed and ready to go.
Boots: Ensure they’re properly fitted for all-day comfort.
Helmet: Safety first — always wear a helmet.
Goggles: Protect your eyes from snow glare and harsh wind.
Gloves or Mittens: Waterproof and insulated for warmth.
Jacket & Pants: Waterproof, breathable outerwear to stay dry and warm.
Layering: Base layers, mid-layers, and moisture-wicking shirts.
Personal Items & Extras
Backpack: For carrying snacks, water, and spare layers.
Snacks & Lunch: Energy bars, sandwiches, and other portable snacks.
Water Bottle or Hydration Pack: Staying hydrated is essential at high elevations.
Portable Phone Charger: Keep your phone charged for photos and emergencies.
Cash or Card: For lift tickets, snacks, and locker rentals.
Hand Warmers: Slip them into gloves for extra warmth on cold days.
Rental Gear Options
Where to Rent Gear in Seattle:
REI Seattle: Rent snowboards, boots, and helmets.
Evo Seattle: Offers high-end snowboard rentals for beginners and pros.
Where to Rent Gear at Stevens Pass:
On-Site Rentals: Stevens Pass Rental Shop offers snowboard packages, but they sell out quickly.
Pro Tip: Reserve gear online before you arrive to avoid waiting in long lines.
3. Lift Tickets & Passes for Stevens Pass
How to Buy Lift Tickets
Online Purchase (Best Option): Buy tickets on the Stevens Pass website in advance for lower rates.
Multi-Day Discounts: Get discounted rates if you plan to snowboard multiple times this season.
Walk-Up Tickets: Available but more expensive and riskier if the resort sells out.
Pro Tip: Plan ahead — weekend tickets often sell out, so book online.
Season Passes & Discounts
Epic Pass: Unlimited access to Stevens Pass and other Vail Resorts locations.
Discounted Lift Tickets: Look for midweek deals and early-season specials.
Military & Student Discounts: Available at certain times of the season — check eligibility online.
4. How to Maximize Your Time on the Slopes
Timing & Strategy
Arrive Early: Get to the parking lot by 7:30-8:00 AM to avoid delays.
Peak Hours: Expect lift lines from 10:00 AM - 2:00 PM, especially on weekends.
Lunch Strategy: Eat early (before noon) or late (after 2:00 PM) to avoid cafeteria crowds.
Best Runs for Snowboarders
Beginner Trails: Daisy and Brooks areas are perfect for new snowboarders.
Intermediate Runs: Skyline Express and Hogsback offer longer, more varied terrain.
Advanced & Expert Trails: Try Seventh Heaven for deep powder and challenging runs.
Pro Tip: Download the Stevens Pass Trail Map app to check live lift statuses and trail openings.
Snowboarding Tips for Beginners
Take a Lesson: First-timers should consider a beginner lesson at Stevens Pass Snow School.
Practice Falling Safely: Learn how to fall properly to avoid injury.
Avoid Peak Crowds: Hit beginner trails early in the day for fewer crowds.
5. Après-Ski: Where to Eat & Relax After Snowboarding
H3 - On-Mountain Dining
Foggy Goggle (On-Site Bar): Warm up with a hot drink or craft beer.
Tye Creek Lodge Cafeteria: Affordable cafeteria-style dining.
Restaurants Near Stevens Pass
Zeke's Drive-In (Gold Bar, WA): Classic roadside burgers and milkshakes.
Whistling Post Tavern (Skykomish, WA): Great for a hot meal and local brews.
6. Pro Tips for a Smooth Snowboarding Day Trip
Check the Weather & Conditions: Look at snow forecasts and avalanche risk.
Download Apps: Use the EpicMix app for live lift updates.
Plan for the Ride Home: Bring dry clothes and a towel to avoid a soggy drive back to Seattle.
Keep an Eye on Road Closures: Stevens Pass Road (US-2) occasionally closes due to avalanches or snow removal.
Pack Snacks & Water: Fuel up for the drive home.
7. Frequently Asked Questions (FAQs)
Do I need chains to drive to Stevens Pass? Yes, chains may be required, especially in snowstorms.
Can I rent snowboarding gear on-site? Yes, but reserve in advance to avoid sellouts.
What if I’m a beginner? Take a lesson at the on-site snow school for a great introduction.
8. Final Thoughts on Your Seattle to Stevens Pass Day Trip
A snowboarding day trip from Seattle to Stevens Pass is an unforgettable adventure. By arriving early, packing wisely, and planning ahead, you’ll maximize your time on the slopes and create lasting memories.
