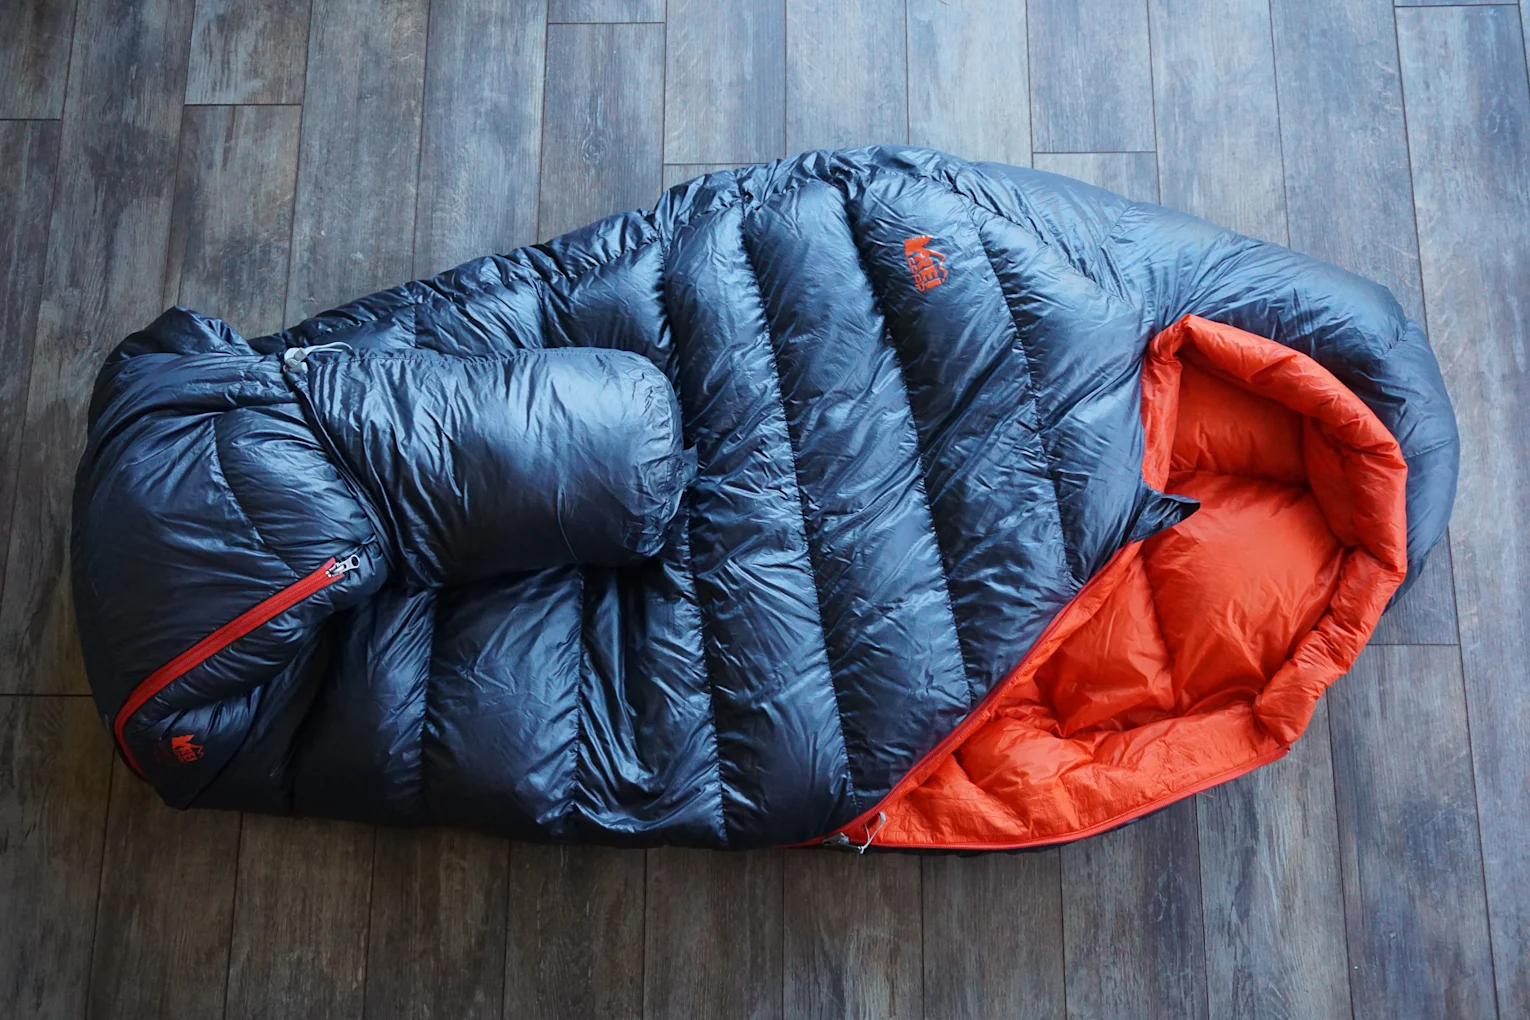
It’s no surprise that sleeping bags need to be cleaned often – they carry pieces of every outdoor camping adventure you take them on, after all. Salt from seaside paddles or sweaty dreams, oils from your skin and dirt from the trail can all get trapped inside the insulation of the bag and leave it smelling stale.
A build up of sweat and dirt can affect the performance of the sleeping bag’s insulation, making it less effective at keeping you warm on those chilly nights. It’s especially important to clean your sleeping bag before storing it, as oil can degrade your bag over time and any potential nasties can grow when left undisturbed.
Properly cleaning your sleeping bag prolongs its life, saving you money in the long run. By not needing to replace it as often, you can reduce the amount of waste generated on Earth.
Say goodbye to drifting off amidst damp smells. As a team of passionate outdoor enthusiasts, before GeerGarage, our crew had our fair share of sleeping in stinky bags. We understand the importance of keeping them clean and smelling fresh, which is why we’ve compiled these essential tips.
Prevention is better than cure
Long live the (sleeping bag) liner! With a sleeping bag liner, it’s easy to preserve your sleeping bag’s longevity. Instead of cleaning the bulky bag itself, the liner takes most of the dirt, and is simpler to clean and dry. In fact, we recommend sleeping bag liners for Lenders and Renters alike!
This is a rare piece of kit that can be relatively inexpensive, starting at $15 and up at outdoor stores like Mountain Warehouse. Some types can even boost warmth by a couple of degrees for colder nights.
Bag basics
Before cleaning your sleeping bag, you need to know the basics. Always avoid using bleach products or fabric softeners to clean your sleeping bag; they can discolor it and wear the insulation down.
Check the care instructions that come with your sleeping bag before cleaning to avoid damaging it. Care may differ between synthetic, and down (feather) type bags, so get familiar with its manufacturing materials.

Aggressively powerful machines are a no-no. Ensure you’re washing your sleeping bag in a front-loading washing machine (or top-loaders without an ‘agitator’ – check your manufacturer if unsure) or by hand in a bathtub to get a thorough clean without damaging the insulation or delicate shell.
Spot clean
Sometimes, all your sleeping bag needs is a little TLC.
If you only need to clean a small spillage or stain on your sleeping bag, spot cleaning is more practical than washing the entire bag. To spot clean, you’ll need the following supplies: a soft-bristled toothbrush, a small amount of soap and a wet sponge. Pay particular attention to the hood of the sleeping bag, as grime and oil accumulate most here.
Top tip: prevent the insulation from getting wet by holding the outer shell or liner fabric away from the inner fill while spot-cleaning your sleeping bag.
The low-down on washing sleeping bags
Time to deep clean to restore your sleeping bag to its former glory.
If you machine wash your sleeping bag, use a detergent formulated explicitly for down or synthetic sleeping bags, or opt for a hypoallergenic or non-biological option, which is often gentler on skin and materials alike.
Use a delicate cycle and wash the bag in warm, not hot water. If unsure, go for cold!
If you choose to hand wash your sleeping bag, it's as easy as filling the bathtub or sink with warm water and adding soap. Lay the bag in the water and rub together the dirtiest areas of the bag to clean it. After leaving the bag to soak for an hour, drain the water. Then, fill it back up with water to rinse.
Make sure you rinse the sleeping bag thoroughly to remove all traces of detergent/soap which can accumulate in the insulation. It should feel damp, not slippery.
When removing your sleeping bag from the tub or washer, make sure you hold it by both ends. Holding it by one end can rip the seams and/or stretch it.
Dry dry dry!
After the final rinse, it’s time for the all-important drying. Air drying indoors will take a long time and it will need a spot with plenty of warm and/or dry air circulation. If you have outside lawn furniture, laying it flat on a table or over a chair on a sunny day can be a great option.
Cleaning and drying a sleeping bag can cause the insulation to go flat. It’s best to at least finish the drying process with 5-10 minutes in an electric dryer on low heat ideally with a couple of tennis or dryer balls to get it fluffy again.
Don’t sleep on cleaning
Your sleeping bag is one of your most faithful companions on any camping trip. It provides the extra insulation you need to enjoy breathtaking nights under the stars and cozy mornings around the fire, allowing us to travel further afield without coming back to bricks at sundown. Like any loyal companion, it’s important to take care of it to keep it by your side for years to come.
Sleeping bags are one of our most requested items on GeerGarage, so it’s good practice to have yours in a clean, crisp condition should you want to Lend one through us (and don’t forget that liner for an easy life!) We love Rainy Pass, based in Seattle, for deep laundering sleeping bags and other technical gear.
Get in the habit of maintaining your sleeping bag to maximize it – you’ll see, smell and sleep the difference!
